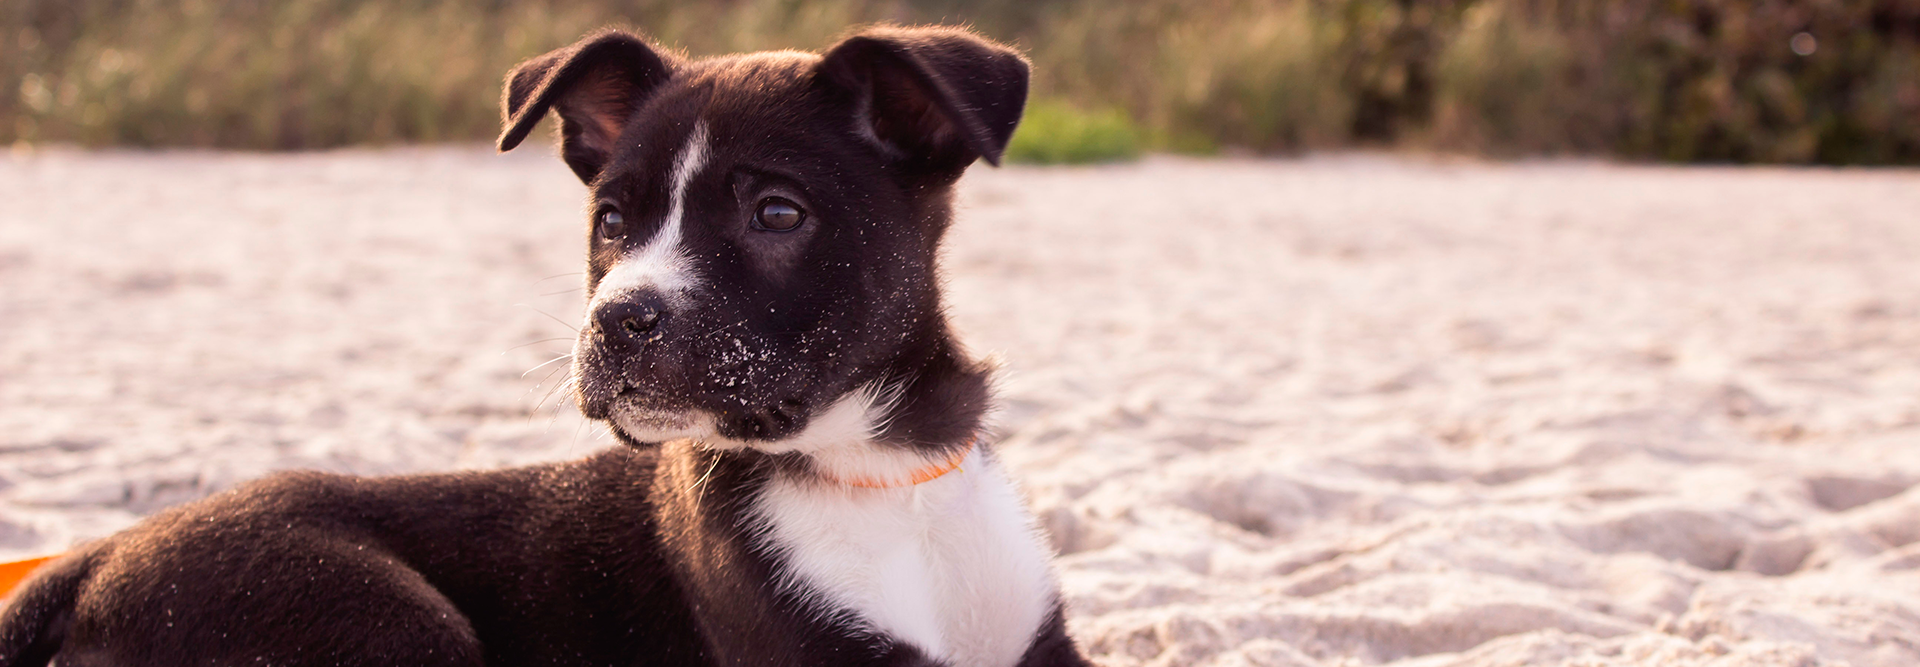
What’s cuter than a puppy? A puppy dressed up in a Halloween costume! With the spookiest holiday of the year coming up in just a couple weeks, you might be asking yourself how you can include your brand new puppy in the Halloween festivities! Whether you are planning on hosting a Halloween party at your […]
What’s cuter than a puppy? A puppy dressed up in a Halloween costume! With the spookiest holiday of the year coming up in just a couple weeks, you might be asking yourself how you can include your brand new puppy in the Halloween festivities!
Whether you are planning on hosting a Halloween party at your house, flirting with the idea of entering a Halloween costume competition at your local library, or have something else up your sleeve, a fun way to include your new furry friend is to dress him in an adorable Halloween costume!
Unlike adult dogs who are better able to tolerate pet-friendly, store-bought Halloween costumes, puppies tend to be a bit more squirmy. And due to their smaller size, finding a costume that will fit isn’t always possible.
Fear not! Petland Florida has come up with some amazing DIY Halloween costumes for puppies that you can tailor-make for your new puppy pal that are truly paw-some.
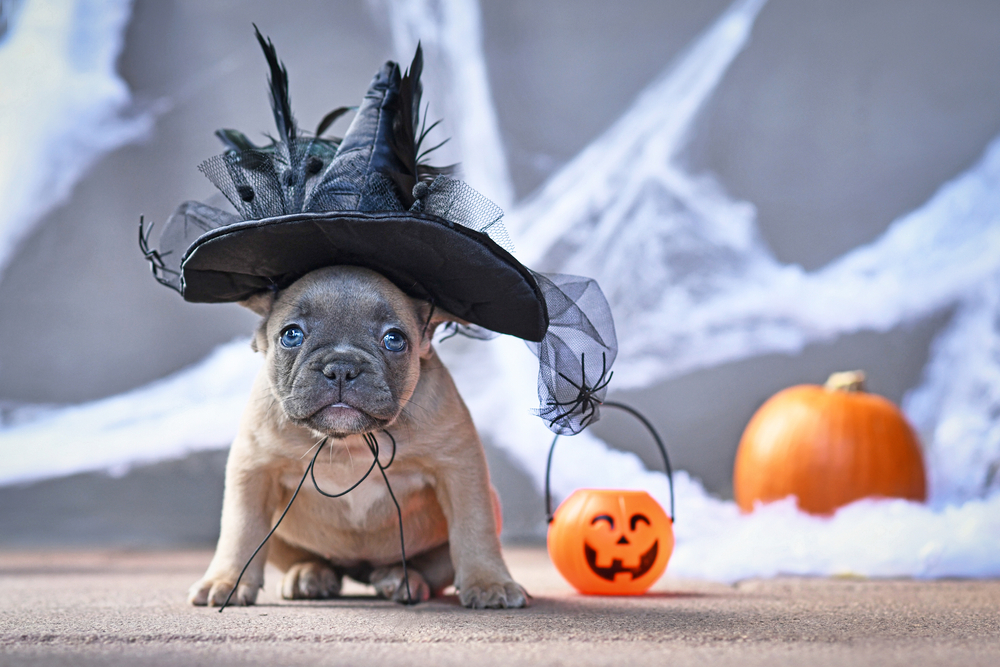
If you anticipate your fur baby isn’t going to like being dressed in a head-to-toe Halloween costume, a great way to give your doggo a spooky or cutesy look is to pick out a hat for him to wear. The right hat will transform your puppy into a character, whether it be a Witch or Sherlock Holmes or the biggest fan of your favorite local sports team.
Our DIY recommendation is to tailor-make a witch’s hat. All you need is black construction paper and an orange ribbon. With a full sheet of black construction paper, roll the sheet and fashion it into a cone shape with a point at one end. Make sure the round, open side will fit your pupper’s little head. Secure the cone with tape. Use scissors to cut another black sheet of construction paper to make the brim of the hat, and tape that onto the cone. You can hide the “seam” of where these meet, using an orange ribbon, and voilà! Your puppy is a witch!
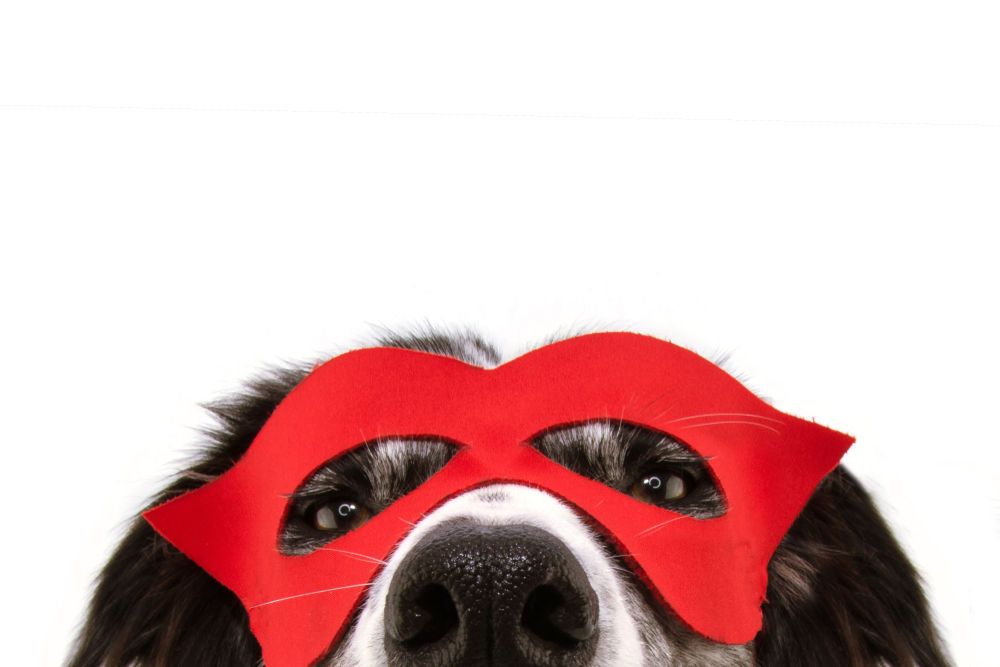
We all know that puppies have super powers. They can melt hearts with their big, innocent eyes. Uplift our moods with a single nudge of their cute noses. And even change our minds about early morning exercise and get us to like it! It makes perfect sense that this Halloween your puppy should be a superhero!
This DIY puppy Halloween costume is easy to make, and you can get as elaborate as you want decorating the mask. All you need is colorful felt (a soft yet pliable fabric) and costume elastic of the same color, both of which you can pick up at your local craft store. The most important aspect when making your puppy’s superhero mask is to make sure that the eye holes are large enough that your puppy won’t have any difficulty seeing. You can accomplish this by making sure the “bridge of the nose” of the mask is very narrow, and cutting the eye holes as large as possible.
Use scissors to cut the colored felt into the desired shape. Once the felt is cut into the shape of the mask, lay the mask over your puppy’s face to make sure it’s the right size, then measure the elastic. The elastic should be tight enough to keep the mask on your puppy’s face without causing too much pressure. Then sew or staple the measured elastic to both sides of the mask.
Once the superhero mask is fashioned. You can use as much creativity as you want, gluing feathers, sequins, or other decorations to the felt of the mask!
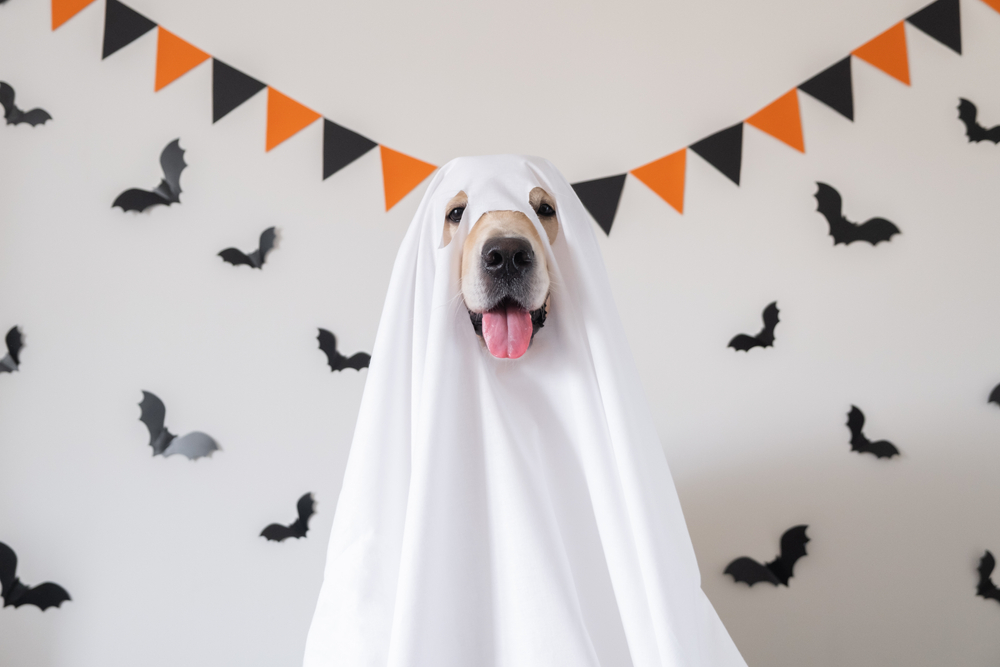
This next DIY Halloween costume for puppies requires some caution. It’s the classic ghost costume, which can be made with white fabric, even an old sheet you cut up. If you want to make this costume for your puppy, we recommend that you have your puppy wear it for a very limited length of time, perhaps only for pictures. Due to the white fabric covering your puppy’s entire body, he might not like wearing it for very long. And definitely do not allow him to wear it without your supervision, i.e. don’t let him trot off out of your sight in this costume.
Now, on to the fun part! Making this Halloween costume won’t take too much explaining. You can either buy a new square of white fabric from your local craft store or use an old white sheet. First, measure the white fabric, and cut it down to size to fit your puppy. You don’t want the sheet, once draped over your puppy’s head, to hang lower than his paws. In fact, you should cut the fabric so that once the fabric is laid over him, the ends of the fabric hang no lower than your puppy’s underbelly. This will help prevent him from tripping.
Once you cut the white fabric, you’ll have a rectangular shape. Lay this over your puppy to get a sense of where you’ll need to cut eye holes and a large hole for his muzzle. You can use a pencil to lightly mark the fabric so you know where to cut. Then, remove the fabric from your puppy, and use scissors to cut the holes for the eyes and mouth.
It’s better to err on the side of making the holes too big rather than too small. You definitely want your puppy to be able to see easily. The hole for your puppy’s muzzle should be large enough that, once the costume is on, the muzzle hole rests snuggly but not too tightly under your puppy’s chin.
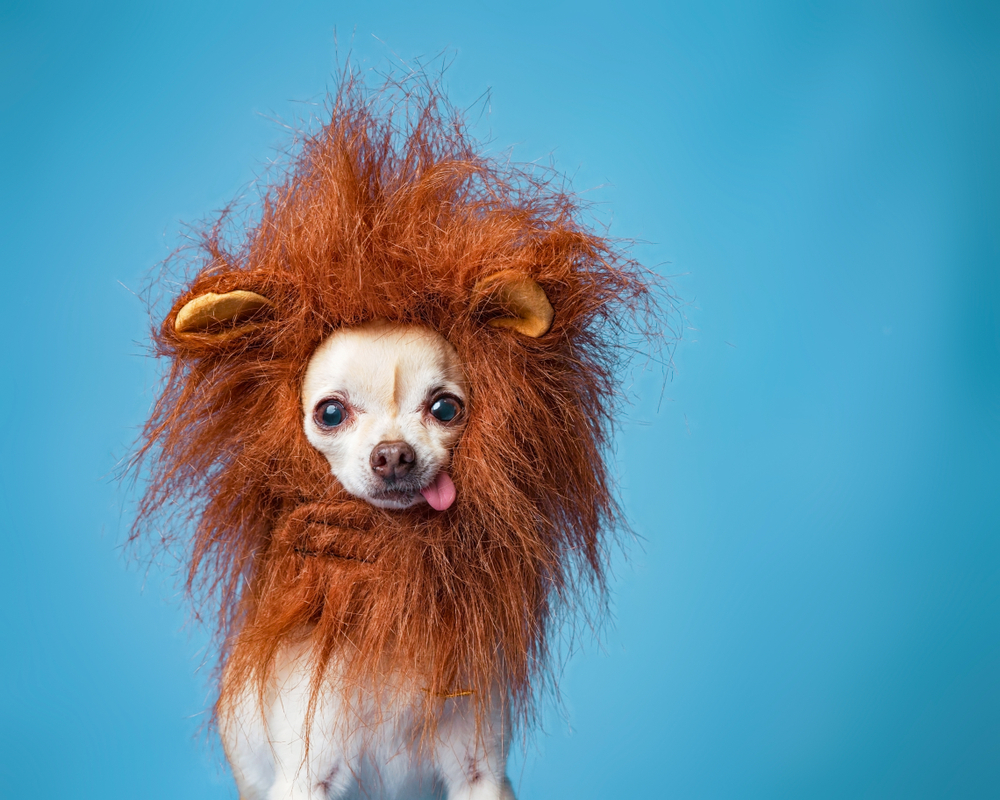
For the more advanced arts-and-crafter, this puppy Halloween costume is fun to make and adorable when worn by a puppy. At your local craft store, you’ll need to buy either a very small (baby-sized) headband or roll of elastic (brown or tan colored), construction paper in brown, tan, and yellow or yarn of the same colors, and heavy duty glue. You’re artsy. You have vision. You see where we’re going with this…
The following instructions are only one way to use the materials above. Choose whatever materials will yield the desired lion’s mane look you’re going for. But for the sake of simplicity, here’s how we make lion’s manes for our puppies on Halloween.
With the brown, yellow, and tan yarn, first make “puff balls” by looping the yarn around a book. This will measure out loops of approximately 6 inches in diameter. So, with the brown yarn, loop the yarn around a book several times until you have a thick loop. Slip the loop off of the book. Cut the loop. Take the headband and tie / knot the yarn onto the headband so that the knot is at the middle of the yarn’s length. Then take the yellow yarn and do the same. Followed by the tan yarn. You will soon cover the entire headband with yarn, making a color pattern of brown, yellow, tan, brown, yellow… etc. Finally, fit the headband, with its full lion’s mane of colored yarns, onto your puppy’s head.
Alternatively, you can do the same as above, but use the elastic instead of a headband. This means that you must first measure, cut, and sew the elastic into a circle that will snuggly fit your puppy’s head, going under his chin. With this option, the yarn of the lion’s mane can go 360 degrees around the elastic, giving a full mane.
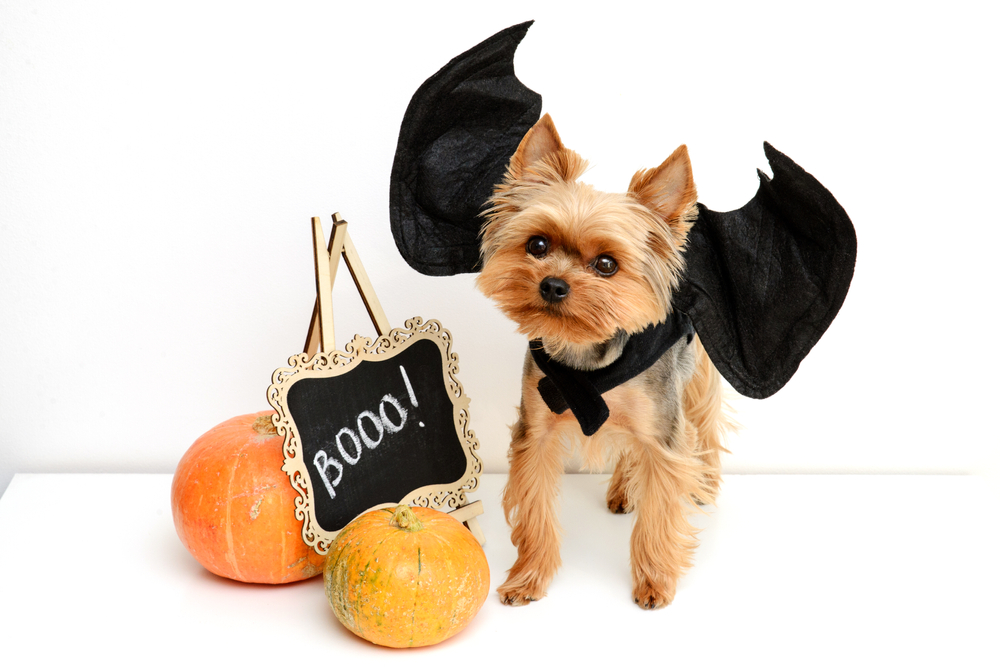
If you’re an expert DIY craftsman, then you’re going to love our final Halloween costume idea for puppies. The simpler option is to make bat wings. But if you want to get very artsy and creative, you might go with making butterfly wings, replete with glitter, feathers, and all the decorations that your local craft store has to offer.
The most important part of this costume, whether you’re making bat wings or butterfly wings, is to fashion the costume’s harness so that it will fit your puppy snuggly yet comfortably. With a long strip of elastic in the color of your choice, create a “cross body” harness that your puppy will wear across his torso. With your puppy in front of you, measure the elastic into a circle around his torso that begins at his right shoulder, crosses his back to his left hip, and under his belly crosses his chest, meeting the start of the elastic at the right shoulder. This is one “loop.” With this measured thanks to your patient pooch, cut the elastic and sew the ends. Do the same thing, starting with the left shoulder. Now you have two loops. When on your puppy, these two loops will “meet” in the center of his back and in the center of his chest. Sew the elastic at these meeting points. Now you have the crossbody harness.
Using construction paper, or perhaps if you’re feeling ambitious, use flexible costuming wire and gauze or tulle, cut the two wings, either bat wings with all their jagged points, or butterfly wings with their soft rounded edges. If you’re using flexible costuming wire, bend the wire into the desired shape and then drape and fasten the gauze or tulle over the wires to make the flat base of the wings.
We recommend decorating your wings at this stage of the creation process, before you fasten the wings to the crossbody harness.
Once you’ve decorated your wings to your liking, you can either glue or sew the wings to the crossbody harness. The attachment plane of the wing should be at least 4 inches. The midway point of this plane should be fixed at the “cross” of the crossbody harness (located at the center of your puppy’s back). In this way, part of the wing’s attachment plane will follow the harness up towards the shoulder and the other half of the wing’s attachment plane will follow the harness down towards the hip of the same side. Fasten the other wing in the same manner.
Finally, put the wings onto your puppy and see how they look! Depending on the weight of the wings, you may need to reinforce the wings’ attachment points.
There you have it! Witch DIY Halloween costume are you going to make this October 31st? From everyone at Petland Florida, we wish you and your puppy a safe and happy Halloween!